On Wednesday {I blogged about some of my organization things}. I mentioned my sticker make as one of my must-haves. I decided that I need to expand a little more on my description, because it seems that many of you didn't know what it was.
Inside is a cartridge that has the paper backing, film, and sticky stuff. You can choose permanent adhesive, temporary adhesive, or even lamination or magnet.
Take whatever you would like to put adhesive on and feed it through the machine. I used it to put adhesive on the backs of these labels that I laminated.
So let's say that I want to put adhesive on this label.
When you feed it through, it will sandwich your item between the paper backing and cover film.
Cut it off after it comes through the other side.
Peel off the film and throw it away (careful, it's sticky!).
Then you can peel off your item and affix it to whatever you want. Sometimes you might get some adhesive that makes spiderweb-type things on the edges, but you can rub it off like you can with rubber cement. Notice this on the edge of the hole.
Voila!
Disclaimer: Fifth in the Middle is a participant in the Amazon Services LLC Associates Program, an affiliate advertising program designed to provide a means for sites to earn advertising fees by advertising and linking to amazon.com.
I'm linking up with two of my favorite bloggers for their Optimum Organization linky party! I LOVE organizing. It makes me feel accomplished and efficient, even when I don't feel like I'm being an effective teacher. Other teachers often come to me for organizing advice and help. I may be the only person who registered for (and received!) a label maker for my wedding.
I'm going to share some of my favorite techniques and tools for organizing your classroom.
First off, I DETEST filing cabinets. Pages sag and curl up. Things get out of order. Pages end up facing different directions in the file folders. In my opinion, the only thing that file folders are good for are lapbooks.
So I put practically everything in binders.
I prefer the ones with a clear pocket on the front and spine. That way I can make an insert and quickly see what unit it is. I also prefer the ones that have the rings attached to the back cover instead of the spine. I think that helps protect the punched holes. And I prefer several smalls binders as opposed to one large binder. I think that the larger binders start to rip earlier because they are used more often. Half-inch and 1-inch binders are about perfect for every unit that I teach. Last summer, Costco had a pretty decent sale on packages of binders.
I have also found that I'm picky about how I three-hole punch my papers. Not all punches are aligned the same, so I bought my own. Then that one jammed a lot because I was also punching transparencies. I think that the punches were getting dull. So I bought one just for punching transparencies so it stays nice and sharp. This year, my coworker rocked my world by telling me that a parent bought him an {electric three-hole punch - affiliate link}. Guess what went on my Christmas list! I'm pretty sure that my family had a good laugh about it, but that wasn't the first office supply that appeared on my wish list. I love this thing. It has made assembling my binders easy. It has also helped with the four different notebooks that each of my 65 students assemble.
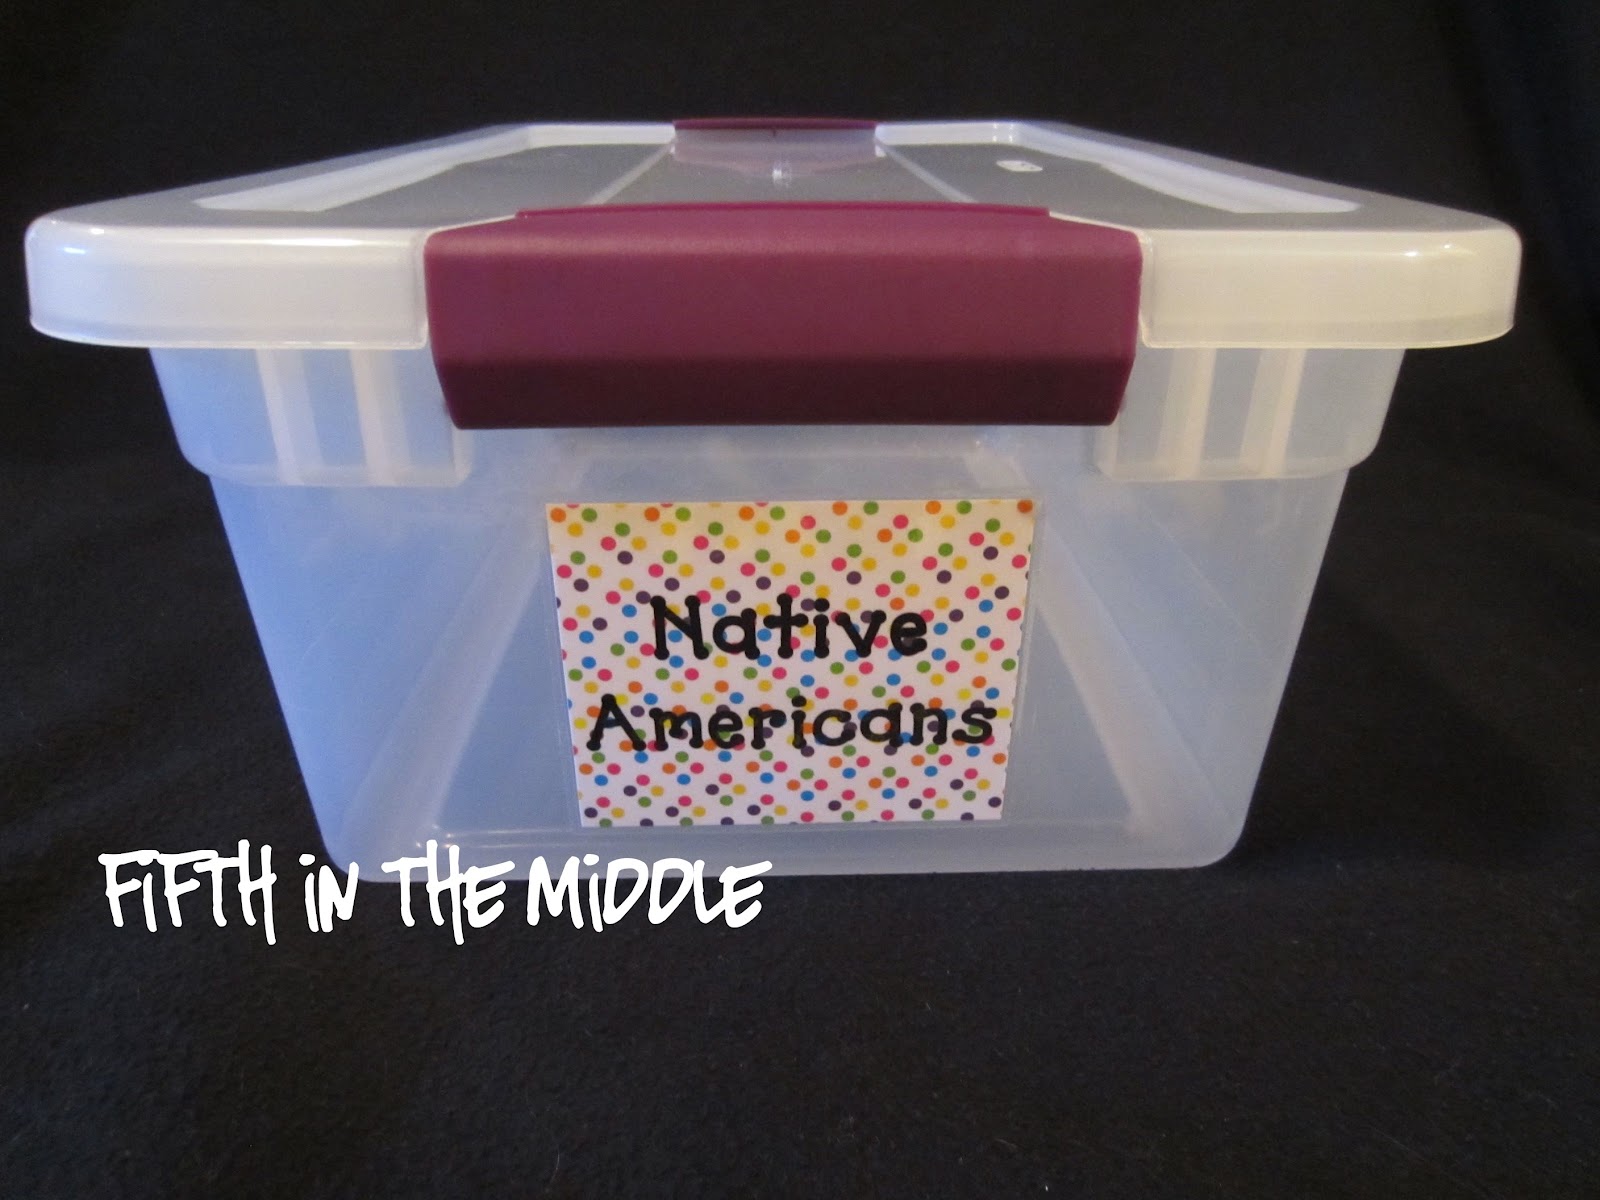
For each unit, I made a coordinating tag to stick on a Sterilite tub or two. I like how these are clear and I can see the contents. I usually have one tub for books that I have out for students to read and another tub for my review games, bulletin board stuff, and things like that.
To make the labels, I printed them out on a patterned cardstock, cut them out, laminated them, trimmed them, then ran them though my sticker maker so I could stick them neatly to my tub. These two wonderful products, in addition to my electric three-hole punch, are the inanimate loves of my life. I should really name them, as they seem like part of the family. I will be adding the the family with the new {personal binding machine} that I just ordered! My coworkers think that I am a little crazy, until they need to borrow them...
Last summer, I also took a few canisters (formula and Pringles) and Mod Podged some scrapbook paper onto them. The shorter formula ones I use for random things - remotes, tickets, Ziploc bags to be used again. The tall ones I use for rulers.
My crate seats double as storage for writing journals and social studies interactive notebooks. One class has red folders that go in the red seat, one class has blue, and one class has yellow.
These cans work perfectly for holding sharpened and unsharpened pencils. The cute black and white labels came from linky hostess Kristen :)
Still reading? Great!
If you want to know more about how I made any of these projects, check the sidebar for my most popular posts, as most of them are included in my top five.
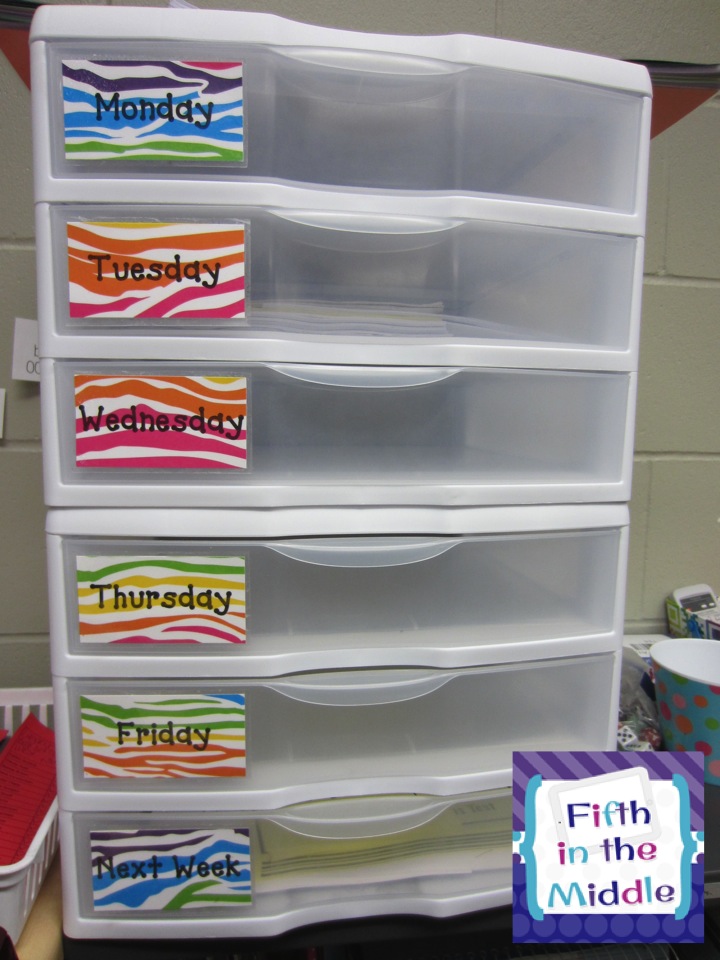
Last year, I started using Sterilite drawers to store assignments and materials for the upcoming week. These replaced pocket folders for each day. Although the folders were cheap and simple to use, I found that they weren't always big enough for what I wanted them to hold. And of course, they started to rip and tear and wear thin after twelve years of use!
I have two three-drawer Sterilite sets stacked together. I made the labels in the same way that I did for my tubs. I really like them. Each drawer is 12x12 and 2 1/2 inches high, so they can easily hold anything I need for the day. I made the bottom drawer to hold papers for upcoming weeks, in case I get ahead on my planning ;)
My last organization tip is for collecting/grading/entering assignments. I used to put my kids in numerical order and have them write their numbers on their papers. Eventually I would learn their numbers and would be easily able to figure out who had missing assignments. Since I have three different classes this year and an associate does a lot of my checking, I developed a checklist cover slip. For each assignment, I create a key and paper clip it to the assignments. I put a cover slip on top noting the assignment name, due date, and points possible. In the first column, the associate or I can check off who has handed it in so I can figure that out quickly if the assignments won't be checked right away. I also note if someone was absent or handed something in late. In the second column, the associate or I will write the score after checking. When I go to enter it online, I can quickly type in the assignment information and scores because they are already in order. I can also keep the cover slip and hand back the papers before entering them if I want because all of the information I need is on the slip. I keep a little basket for the entered cover slips and rubber band them together and stash them at the end of the quarter.
UPDATE 7/22/14 - Due to the popularity of these cover slips, I have written a more detailed post on how to set up your cover slips {here}.
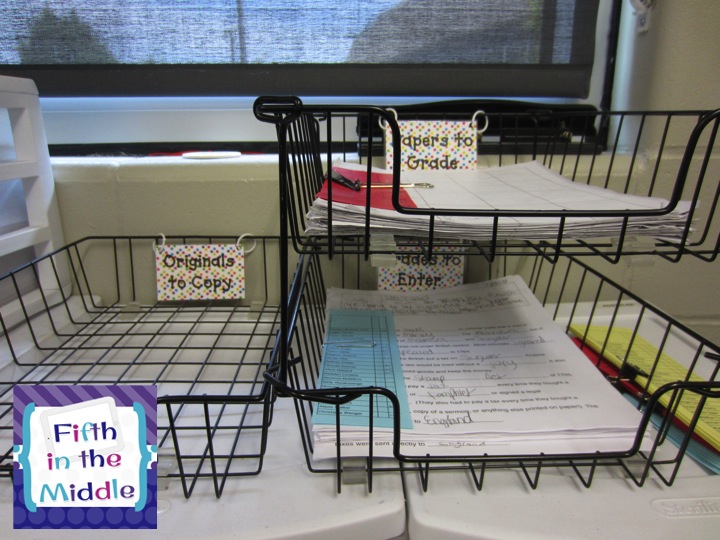
This is what my baskets look like for papers that are ready to grade and papers that have been graded. Sometimes the bottom basket will just contain the different cover slips if I decided to return the papers before entering the grades, like for a test.
These are my hand-in baskets by class. I still get a ridiculous amount of no-names, so I need to separate them by class to help figure out from what class they came. We also enter grades by class, so it makes sense to collect assignments by class.
I look forward to seeing what other organization techniques work for you! I'm looking to getting some ideas for some fun summer projects!
And I'm also going to link up with Sabra for her Must-Have Monday (even though it's Wednesday). So, to summarize for her linky, you must have:
binders
a personal laminator
an electric three-hole punch
a sticker maker
Sterilite tubs
Disclaimer: Fifth in the Middle is a participant in the Amazon Services LLC Associates Program, an affiliate advertising program designed to provide a means for sites to earn advertising fees by advertising and linking to amazon.com.
For the last few days of school, the fifth grade teachers in my building are doing an ABC Year in Review. I have read many blogs of those of you who are doing the same. Our students will be taking the planning page to each of their core classes.
As a class, they will brainstorm different topics and ideas that students will record for each letter. For example, in my social studies classes, we might write down explorers, Christopher Columbus, Queen Isabella, Patrick Henry, apprentice, triangular trade, etc. In math, they will write down math-related terms, and the same for science and literacy.
Then students will choose one thing for each letter, and draw a picture in the box, label it in the bottom rectangle, and write a short description on the lines. Students really enjoy working on them!
I'm linking up again with Spark Student Motivation Saturdays. Hopefully this post will have a little more meat than my last few posts. Reaching the 400 mark makes me want to make my blog more useful by sharing successes, failures, and freebies. But the fluff is fun, too. I guess we'll see where this post goes! *fingers crossed* But it you're into fluff, maybe you want to check out {my Facebook page} or {my Instagram page}.
My students are totally digging {Reading Olympians}. I know that I've said that before. But I think that the clincher is the ability to earn brag tags and beads for their necklaces when they find words with one of the roots we're studying or pass the test.
After they cut out the root cards to add to their rings, I give them a recording sheet printed on the theme color of that god/goddess. For example, everything related to the Nike set is orange. So I print the recording sheet for the Nike set on orange. It serves a couple of reasons. One, it's easier to find. Two, aka the real reason, is that it reminds me what color bead to give them. I also included all of the roots for that set at the top so they could keep them straight. I only give them five lines because I don't want them to totally bankrupt my bead stash.
Now I will admit, earning the beads isn't motivating to all of my students, and I didn't make this activity mandatory. However, some of them have made it a competition amongst themselves of who can get their five first. I allow them to turn in their sheet at any time. I look it over when I have a minute and initial or OK the entries that are correct. Then I hand it back to them with their beads. When they have earned five, then I keep the sheets so that they know that they've maxed out on that color and so that other students can't copy from them.
When we finish the set, I administer the 10-question matching test provided by R.O. Well, that's not true. I give them the one that I condensed into a half-sheet of paper. Anyway, if they score 8/10 or more, they pass the test and earn a tag for their necklaces. Not everyone passes the first time, so I switched letters around and made a retake version. I had one kid take the test four times before she passed. That was how determined she was to earn the tag. Another student scored 3/10 for her first test, studied, then retook it and scored 10/10. She was so proud!
I have had good experience with the company that the R.O. use to make their brag tags, but I can't justify spending money on them when I figured out how to {make my own}. I know that the quality isn't as good, but they do the trick.
Front
Back
I print them out on paper (I would do cardstock if our copy machine was so finicky), laminate them, cut them out, and punch a 1/8" hole. You can download your own template by clicking on the picture.
This week I have been working on grade-level graduate tags. I haven't listed them on TpT yet (still working on the title and credits pages), but if you leave a comment this weekend (before midnight Sunday CST - please include your email if you're a no-reply blogger) telling me that you would like a copy, I will send them to you when I'm done. I have them made for preschool-6th.
Go check out other ways to keep kids motivated these last few weeks of school!