How many of you see Christmas/winter break as a finish line of sorts? (I can make it, I can make it, I can make it...) I will admit that I do, too. Especially since this year my Christmas break will include a trip to the Rose Bowl!!
However, I have found that being ready for the first day back before I walk run out of the door makes all the difference in how well I'm able to truly enjoy the break. When I was commuting over fifty miles a day, the thought of going in over break did not appeal to me. So I made myself be ready for that day before I left town. Turns out, knowing that I didn't have to worry about what I was going to do the first day back really allowed me to relax over break.
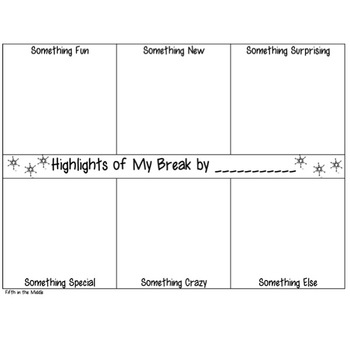
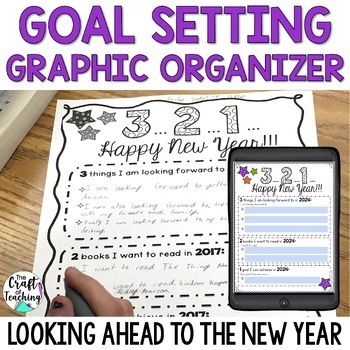
The first thing I always do is give students this graphic organizer. {
It's a free download.}
It allows students to share all of their break stories and get it all out of their systems. I have it ready on their desks and give them 10-15 minutes to write/draw something in each section. Then I draw names and students are able to share one thing from their organizers. Sometimes I also allow them to share in small groups for a few minutes.
Once that urge to share every little detail has passed, I usually jump right back into the routine. The fact that we come back on a Monday this year helps with that, but sometimes we come back mid-week. Or maybe some of you don't want to dive into subtraction of mixed numbers with unlike denominators right away. Or maybe you need something different to make it until break. In that case, I have found some freebies that may help you keep students engaged until break or ease back into the school routine.
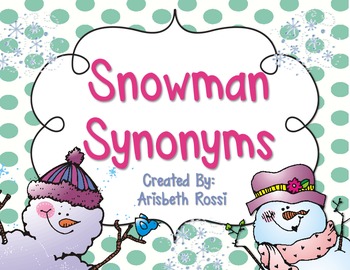
Literacy
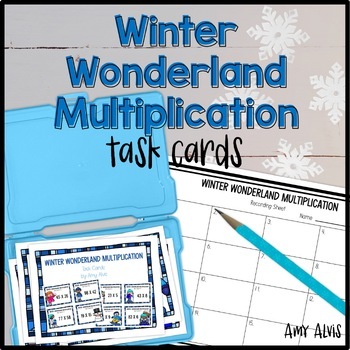
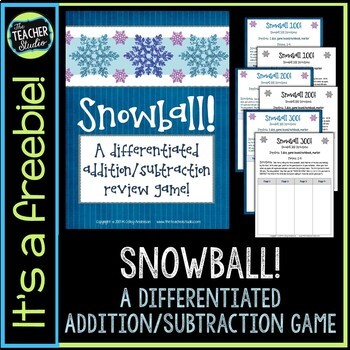
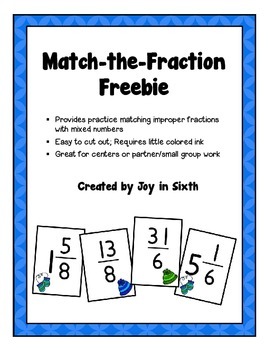
Math
Other
In the meantime, make time for yourself. Whatever makes you feel relaxed. For me, it's a massage. For others (not me), exercise does the trick. This is a season of give, give, give, but remember that you need to take time for you, too.
In the spirit of giving, we have put together a prize bundle to help make your students "bright". These products can be used before or after break.
a Rafflecopter giveaway
Make sure to visit these bloggers for their tips to help keep you merry!